Crochet 101- Making a basic hat
In this post I am going to show you how to make a basic hat. If you have any questions, please email me at jaimeddesigns at hotmail.com
Ch- Chain
SC- Single Crochet
HDC- Half Double Crochet
Slst- Slip Stitch
Materials:
I hook
Yarn Needle
Before you begin, make sure your gauge matches the gauge given in the pattern. To learn about checking you gauge, refer to this
post written specifically for it.
Gauge:
12 HDC = 4 inches.
The first few rounds of most hat patterns are called increase rounds. You are increasing your number of stitches so that it will be the diameter you need to fit the size head you want. At the end of your increase rounds you will have a flat circle. Not until you get to the lengthening rounds will it start looking like a hat.
Increase Rounds:
Chain 4 and slst to join. If you know how to do a Magic Circle, start with that. I will try to add a video tutorial of this at a later date.
 |
| Chain 4 |
 |
| Slst to join |
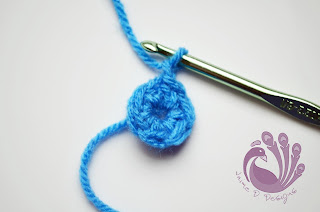
Round 1: Ch 1, 6 HDC inside the ring, (not each chain, but inside the circle that the chain makes), slst to the first HDC to join. (6)
 |
| 6HDC in the circle/ring |
Round 2: Ch 1, 2 HDC in joining space and in each stitch around, slst to the first HDC to join. (12)
 |
| Ch 1 |
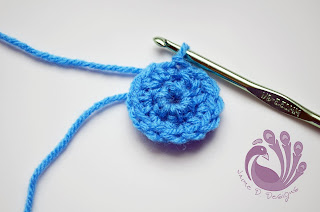 |
| Through round 2. |
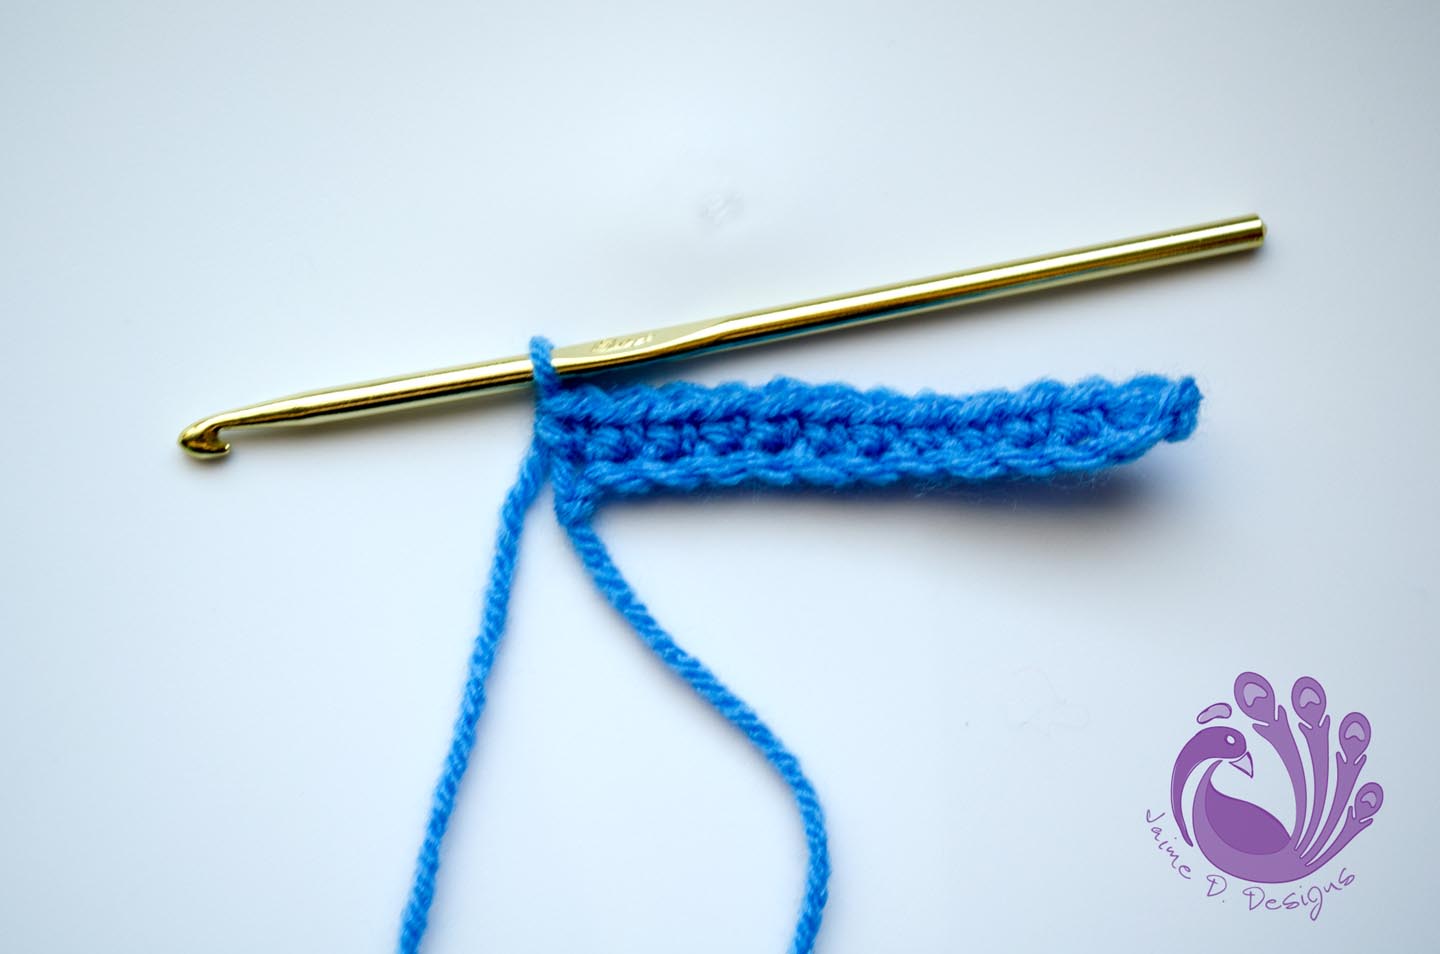
Round 3: Ch1, HDC in joining space, 2 HDC in next. *HDC in next stitch, 2HDC in next.** Repeat from * to **, slst to the first HDC to join. (18)
Round 4: Ch1, HDC in joining space, HDC in next, 2 HDC in next. *HDC in next 2 stitches, 2HDC in next.** Repeat from * to **, slst to the first HDC to join. (24)
Round 5: Ch1, HDC in joining space, HDC in next 2, 2 HDC in next. *HDC in next 3 stitches, 2HDC in next.** Repeat from * to **, slst to the first HDC to join. (30)
Stop here for Newborn Size. Skip down to lengthening rounds.
Round 6: Ch1, HDC in joining space, HDC in next 3, 2 HDC in next. *HDC in next 4 stitches, 2HDC in next.** Repeat from * to **, slst to the first HDC to join. (36)
Stop here for 3-6 Month Size. Skip down to lengthening rounds.
Round 7: Ch1, HDC in joining space, HDC in next 4, 2 HDC in next. *HDC in next 5 stitches, 2HDC in next.** Repeat from * to **, slst to the first HDC to join. (42)
Stop here for 6-12 Month Size. Skip down to lengthening rounds.
Round 8: Ch1, HDC in joining space, HDC in next 5, 2 HDC in next. *HDC in next 6 stitches, 2HDC in next.** Repeat from * to **, slst to the first HDC to join. (48)
Stop here for Toddler Size. Skip down to lengthening rounds.
Round 9: Ch1, HDC in joining space, HDC in next 6, 2 HDC in next. *HDC in next 7 stitches, 2HDC in next.** Repeat from * to **, slst to the first HDC to join. (54)
Stop here for Child Size. Skip down to lengthening rounds.
Round 10: Ch1, HDC in joining space, HDC in next 7, 2 HDC in next. *HDC in next 8 stitches, 2HDC in next.** Repeat from * to **, slst to the first HDC to join. (60)
Stop here for Adult Size. Skip down to lengthening rounds.
Lengthening rounds:
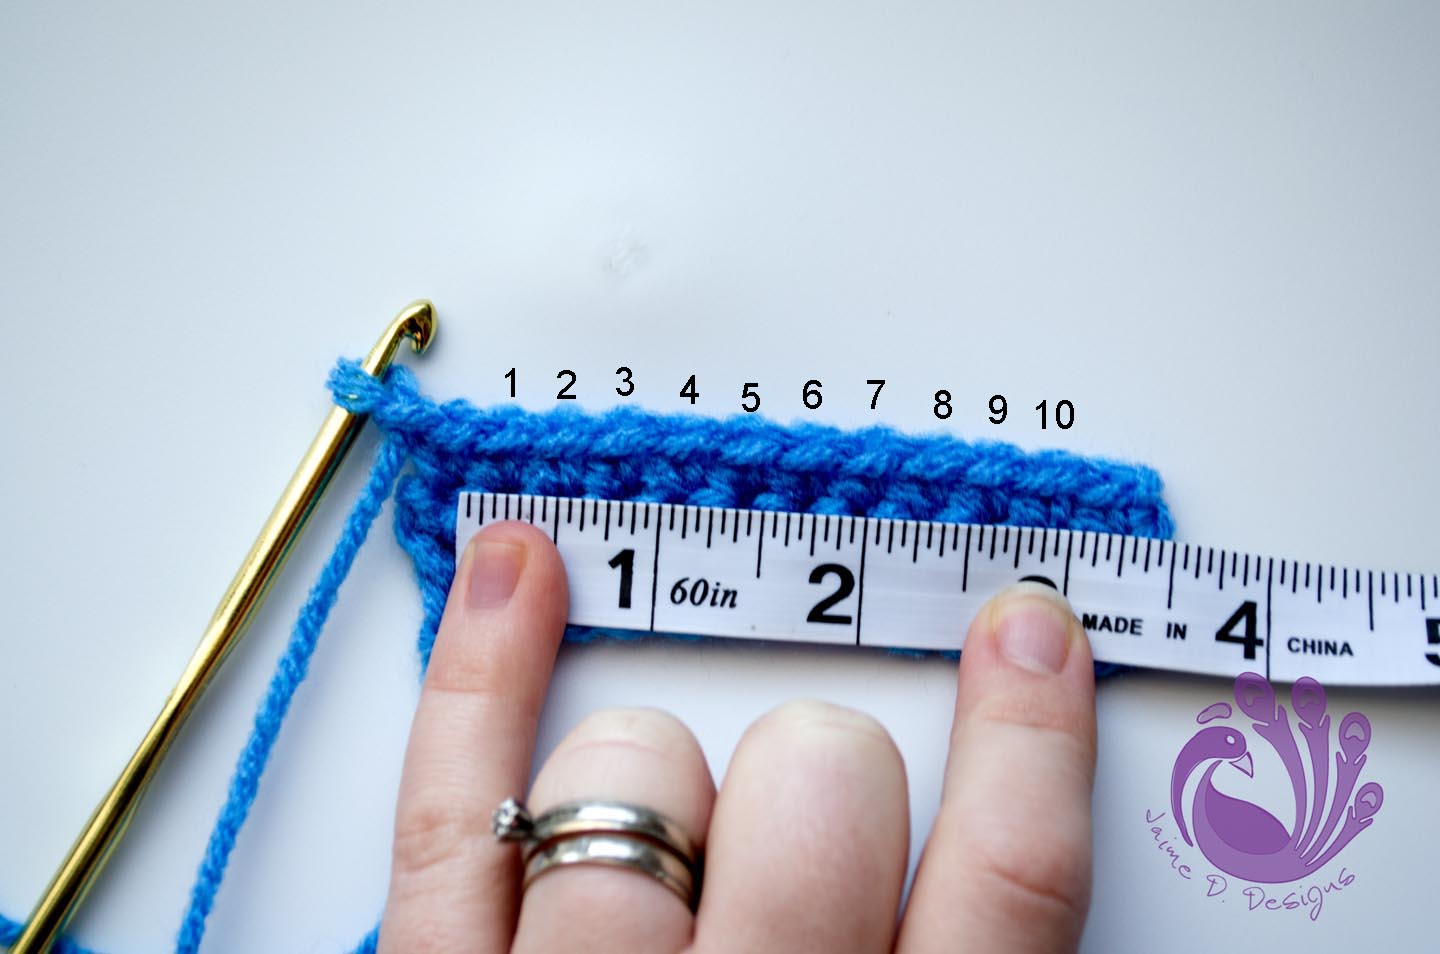
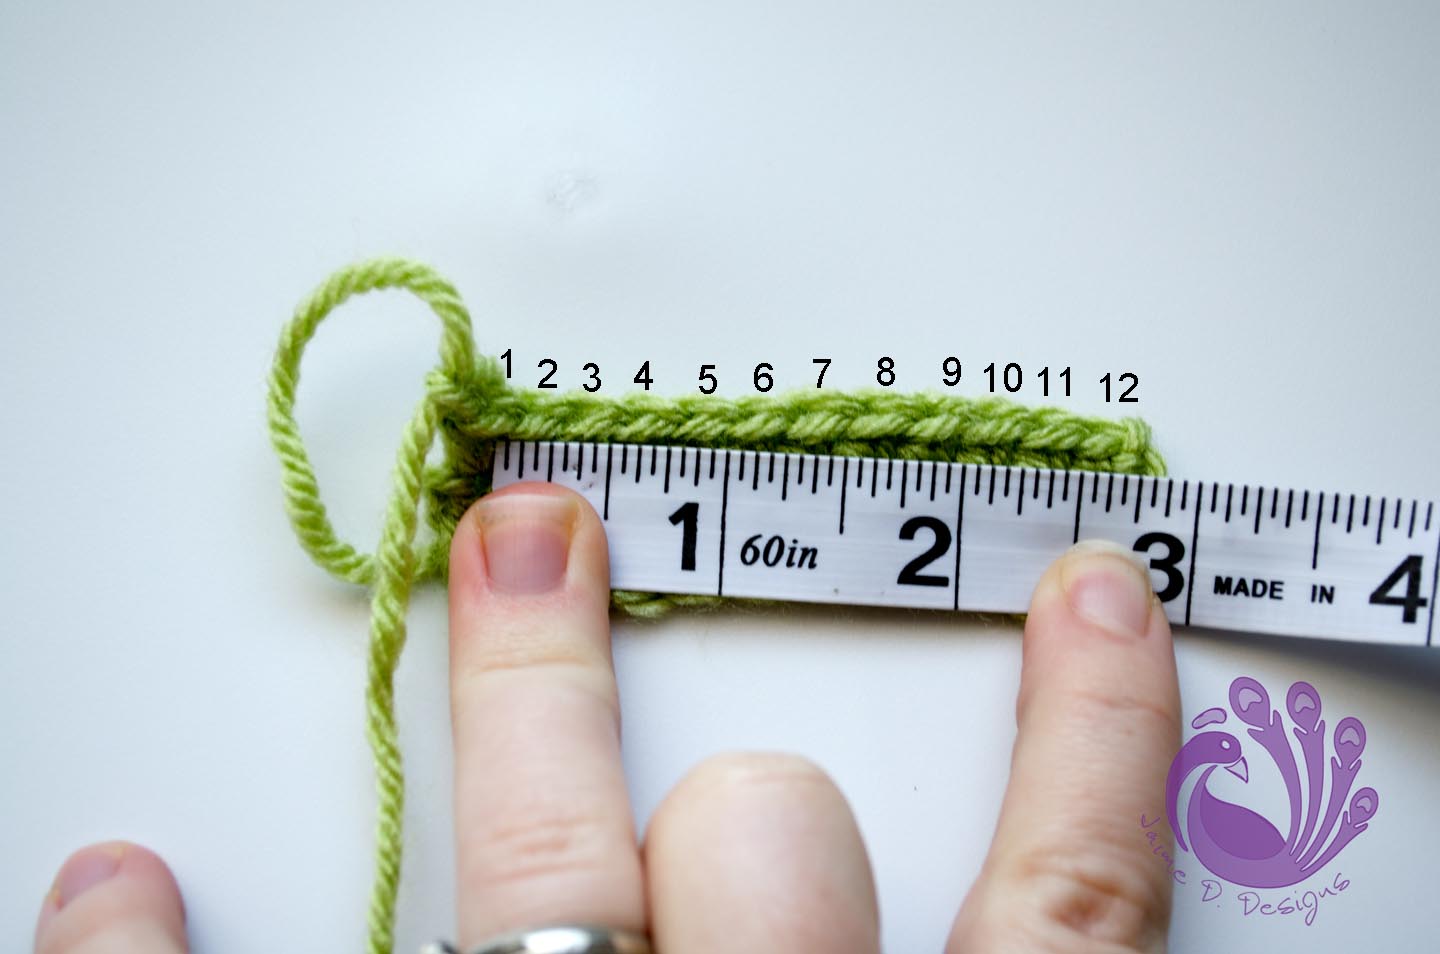
OPTIONAL! From this point you could measure across your circle. Now you have to use MATH! Take the measurement across the middle (diameter) of your hat, in this example it is 4 inches, multiply that number by 3.14.
4 x 3.14= 12.56 (rounded to 12.5)
This hat will fit a newborn perfectly.
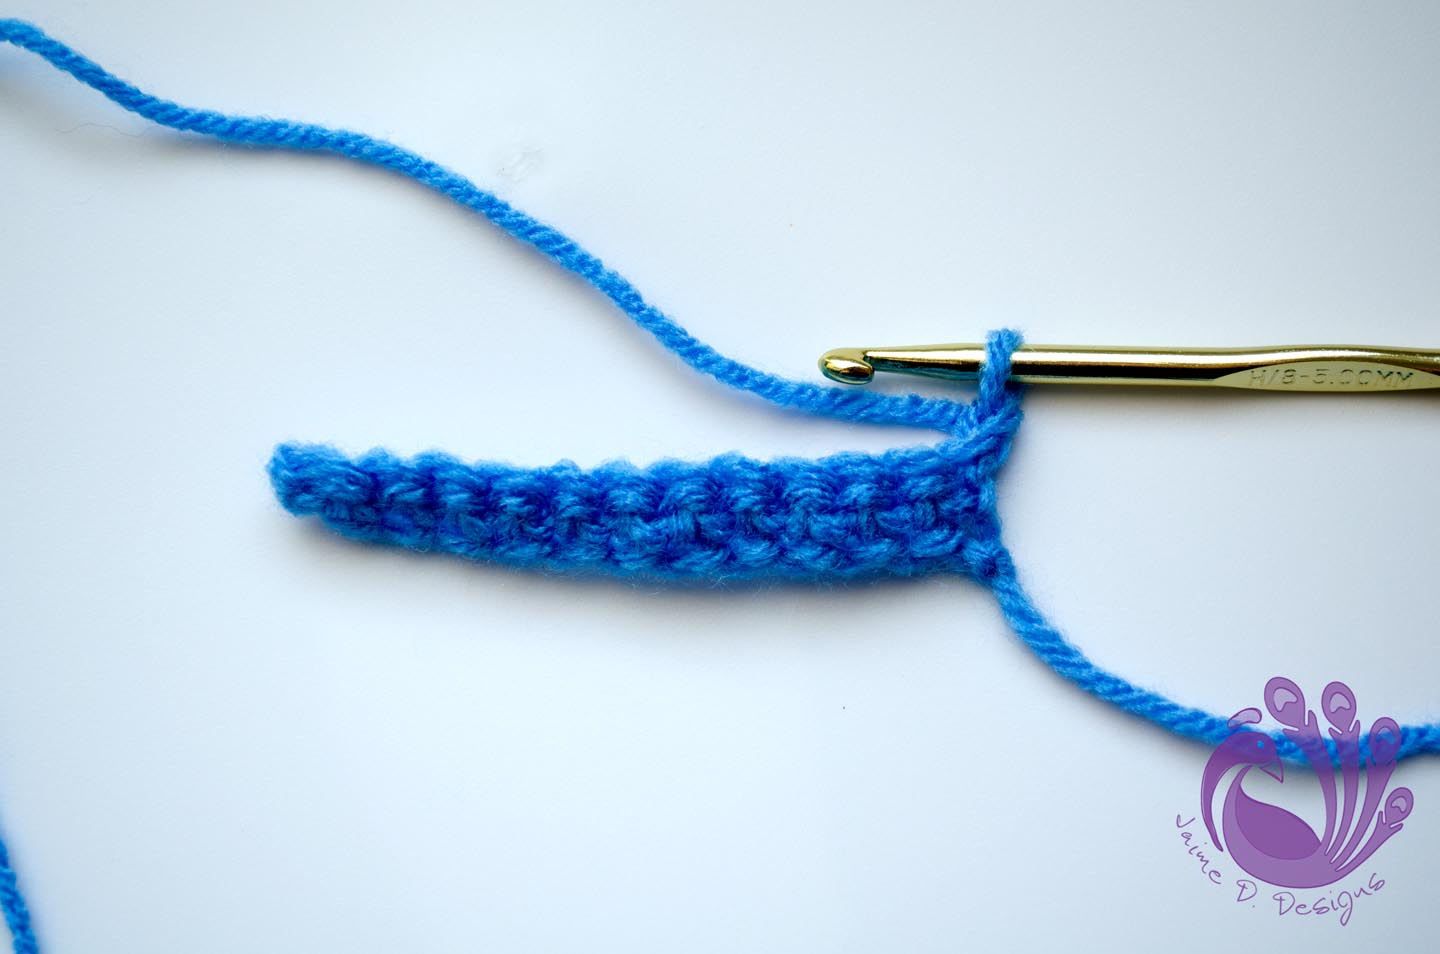
Ch 1, HDC in each HDC around. Join
with a slst to the first HDC. Repeat for as many rows as needed until
your hat measures the length needed for the size you are making.
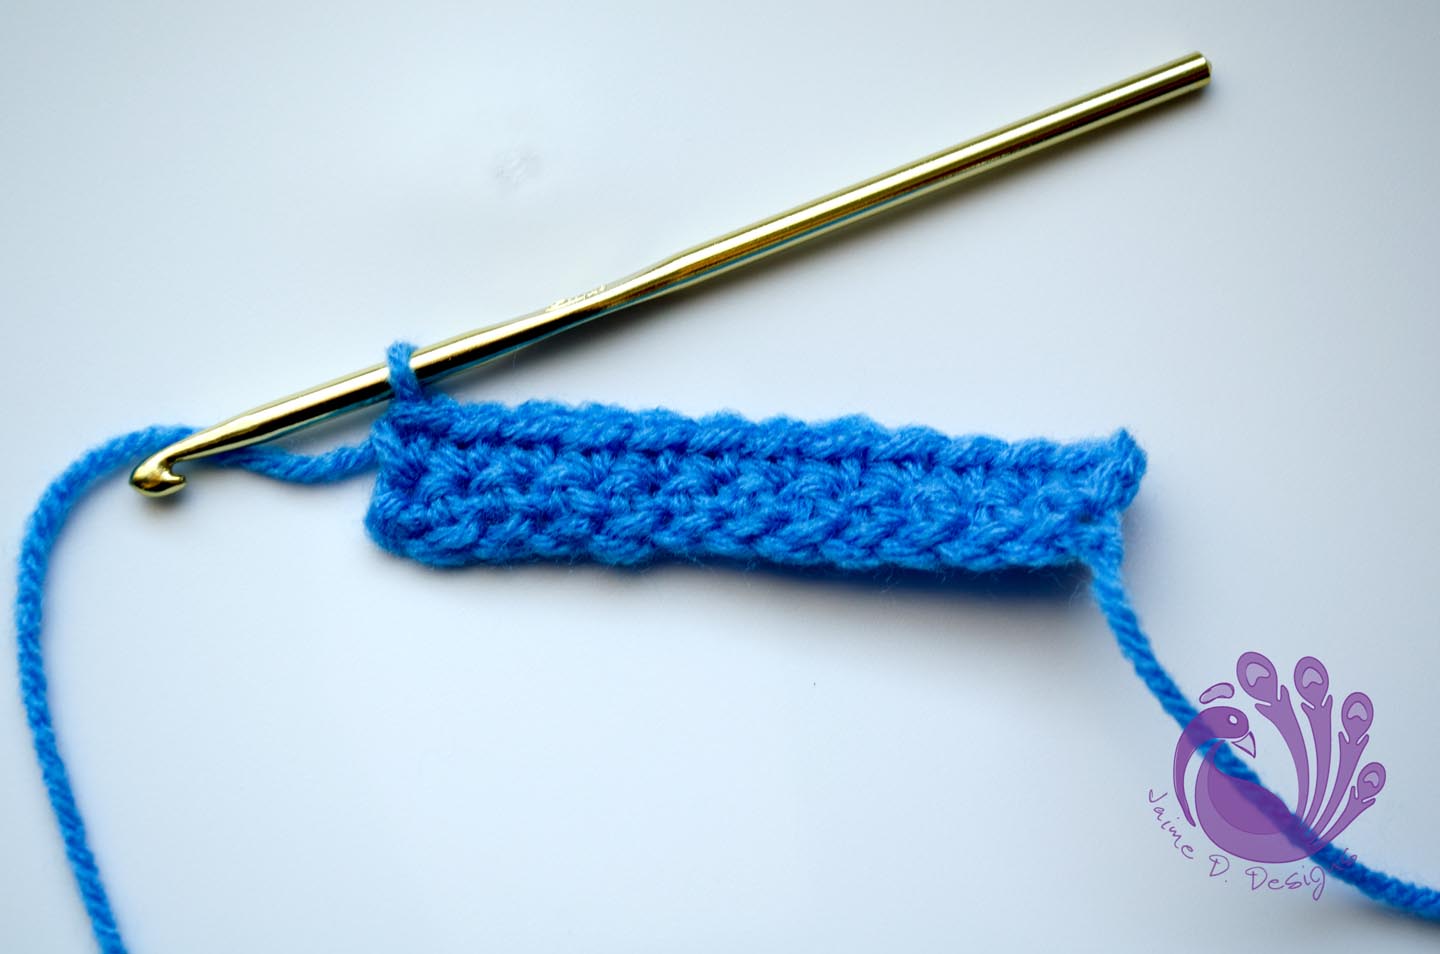
 |
| See the hat beginning to take shape? |
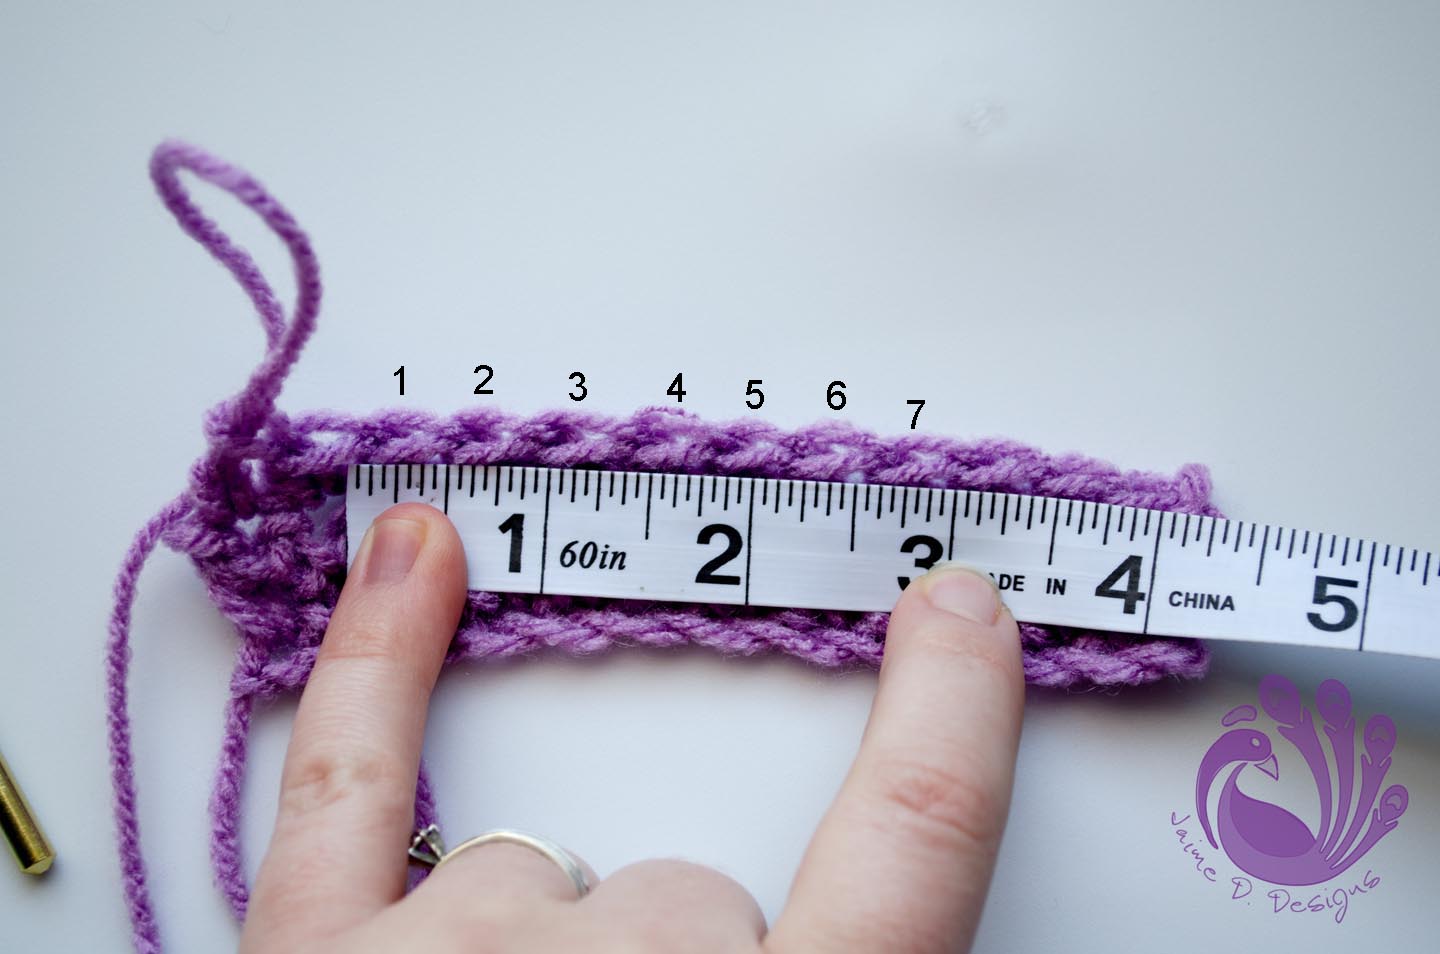
You can stop after you get to the target length or you can put a nice single crochet border around the edge to finish it off. If you would like to do this, continue on to the border round. Measure the height of your hat by laying it flat, starting at the top measuring down to the bottom.
Border round:
Ch 1, SC in each HDC around. Join with a slst to the first SC.
Finishing Off:
To finish off your project, cut the yarn about 4 inches from your hook and pull the loop until your yarn is released and you are just left with a tail. The photo below shows what it will look like when you pull the tail tight.
With your yearn needle, thread the yarn in through the eye of the needle, and weave in the end of your yarn up towards the top of the hat. I find that when I weave sideways it can pull out becasue the hats do stretch, so I thread up.
And there you have it! A basic hat! Congratulations!
If you have any questions or if there are other tutorials you would like to see, comment below or email me at jaimeddesigns (at) hotmail (dot) com